You may have noticed that I’ve been blogging lesser this year and the main reason is because I’ve neglected my health and subjected it to a lot lesser rest that it needed and deserved last year. And my friends, I just want to say that we should never take our health for granted, so please take care of yourself and get sufficient rest, exercise and eat well.
So while I’ve turned down numerous opportunities for collaborations, I jumped at the chance when I was approached by IKEA for their blogger engagement as this is a brand that I truly am a fan of. So over the next 4 months, I’ll be sharing with you some of the projects I’ll be doing with IKEA and I hope they give you fresh inspirations 🙂
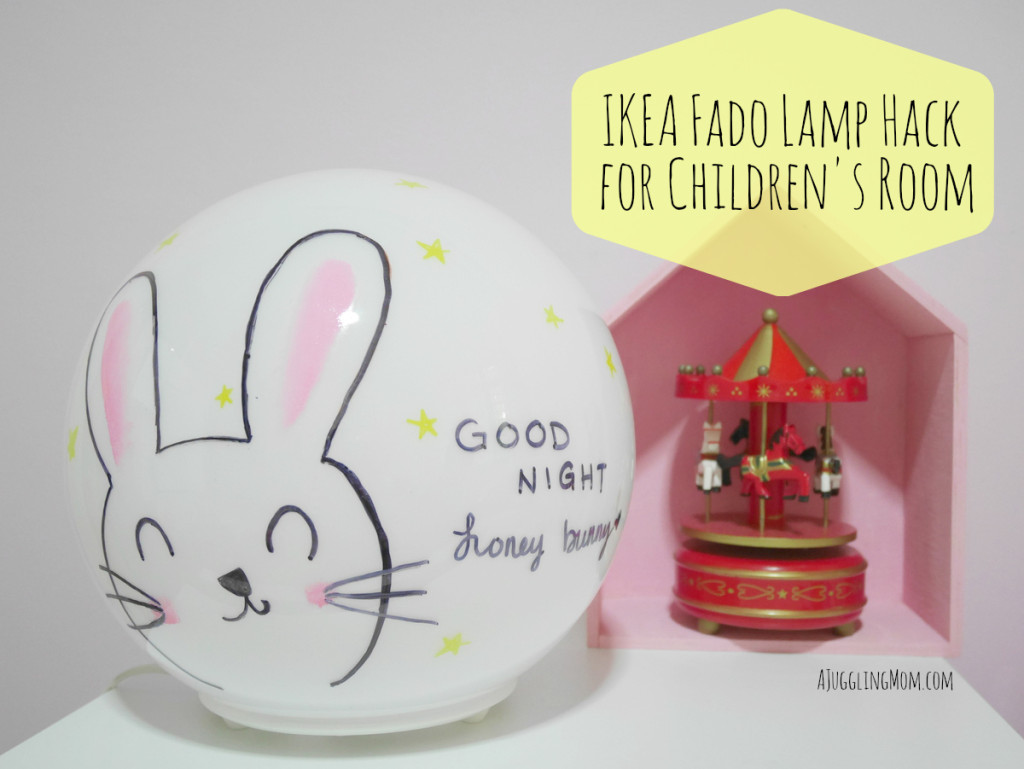
For my first project, I want to share about how I did a super cute IKEA FADO Lamp Hack for Sophie’s room.
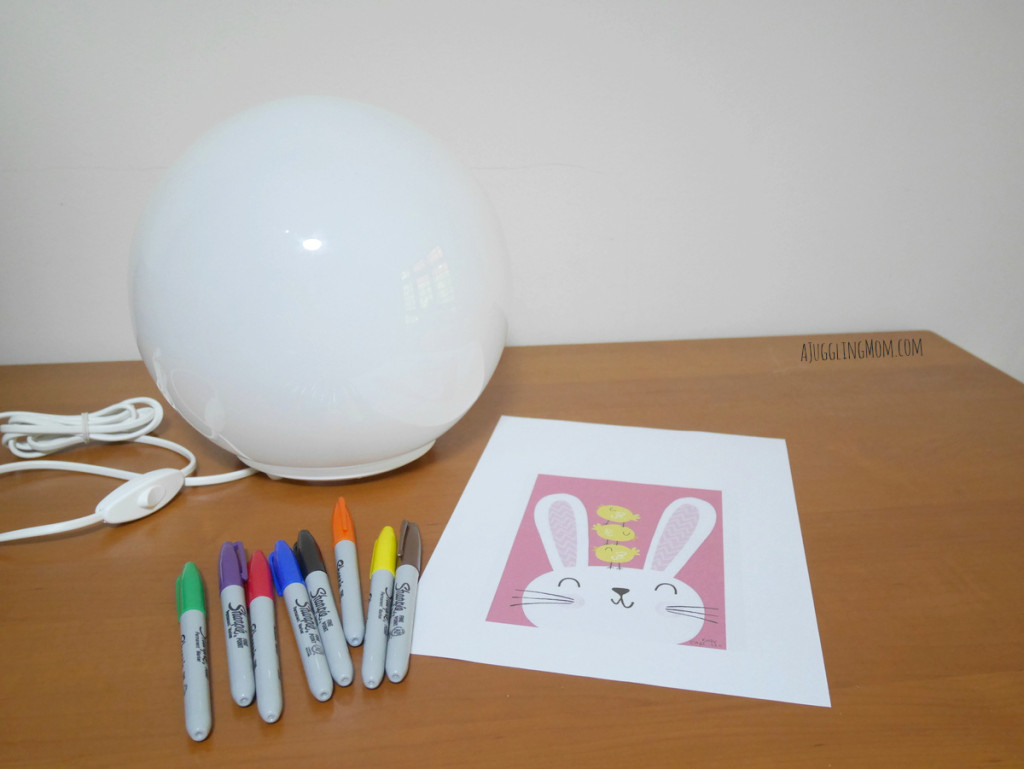
Here’s what you need:
- FADO table lamp
- Sharpie markers (I used black and yellow)
- Ink stamp in pink
- small piece of sponge
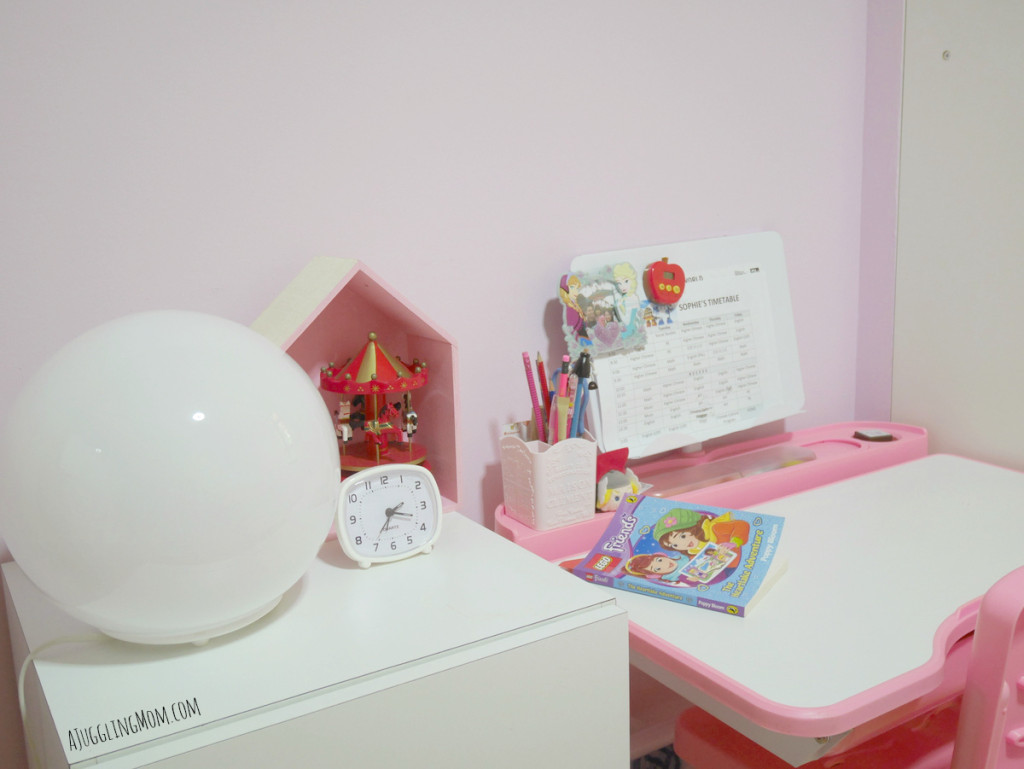
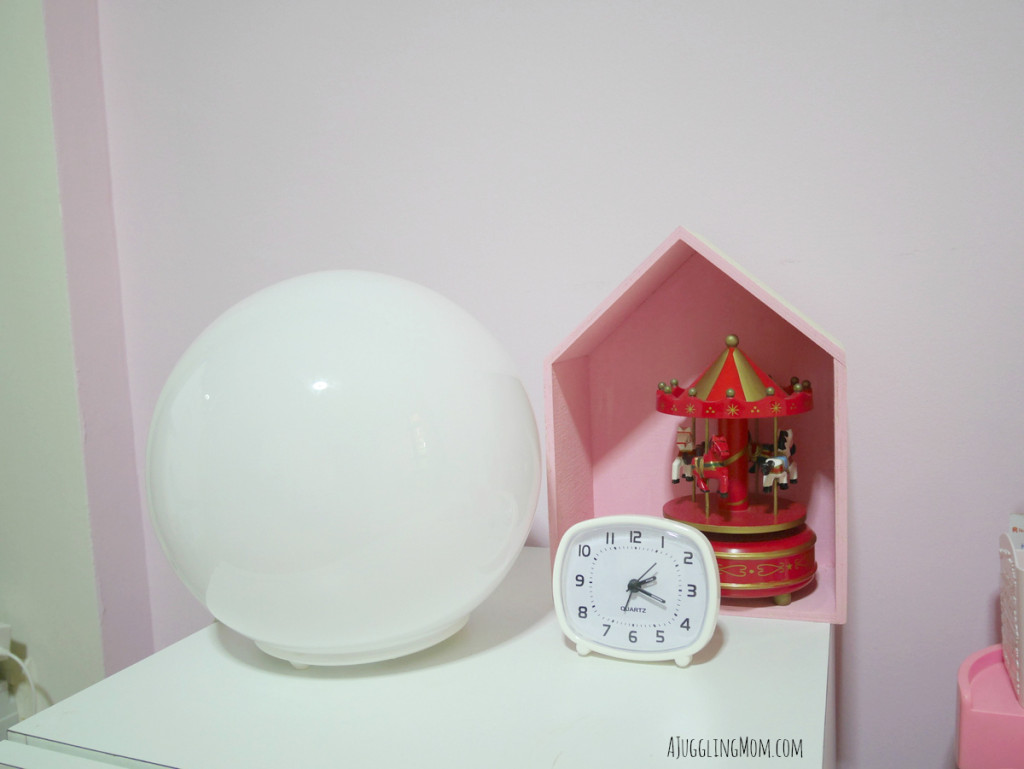
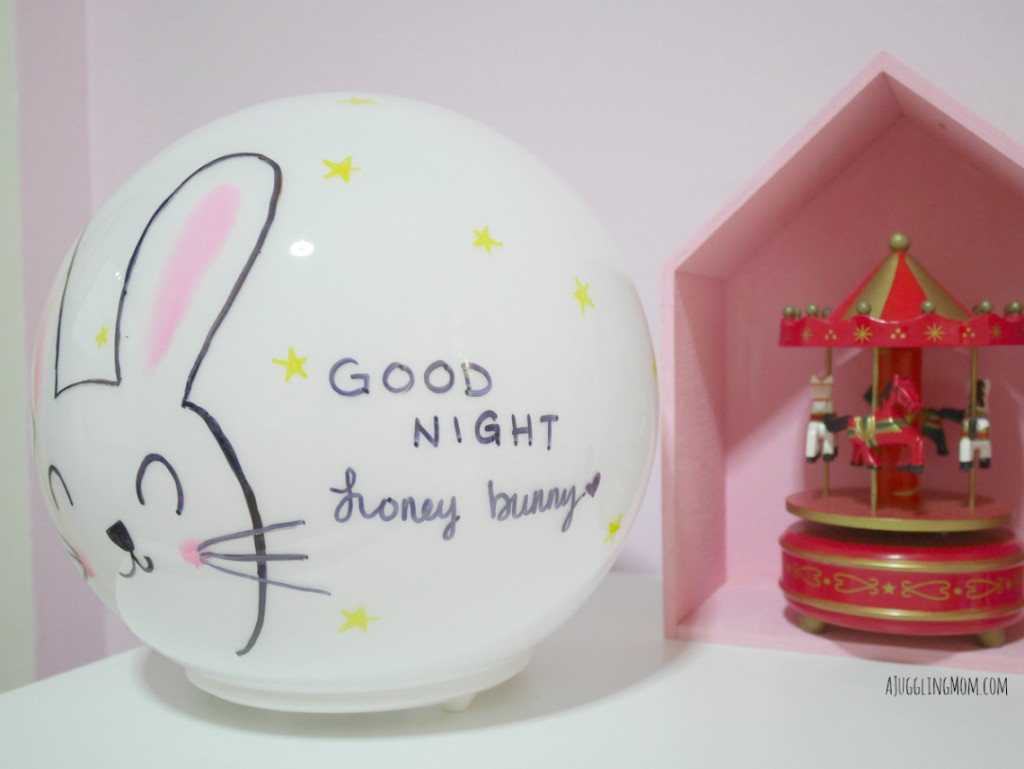
Here’s the BEFORE look at the table lamp on Sophie’s side table. While it’s functional, I just wished it was more welcoming especially before she goes to sleep at night.
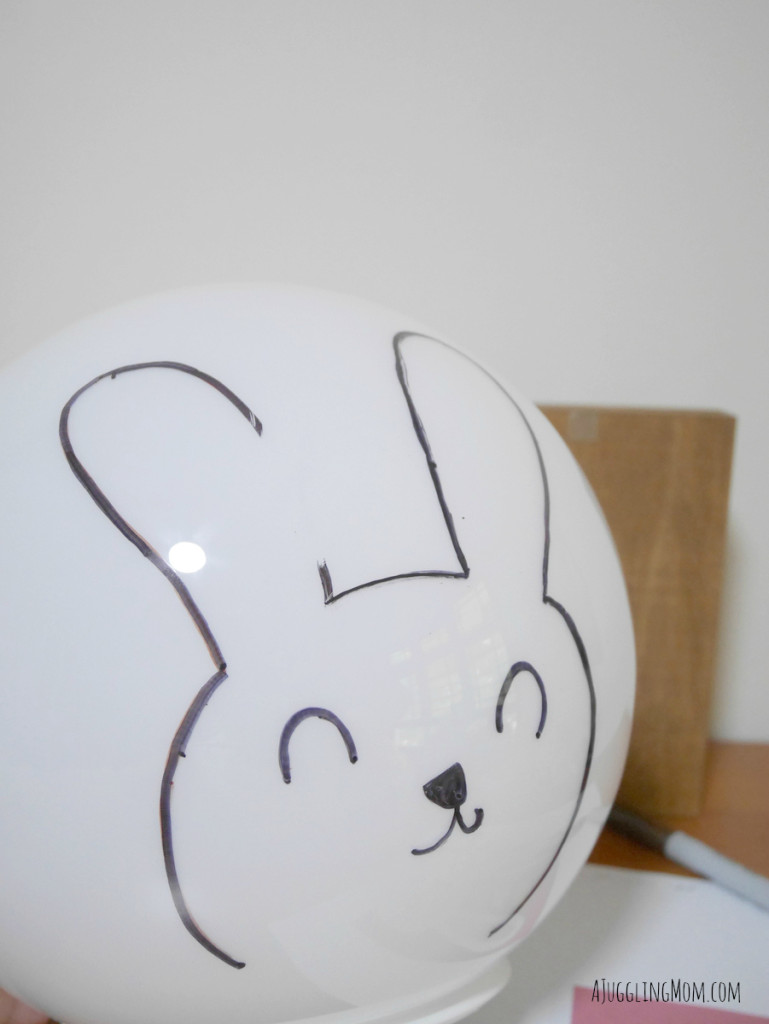
Before I jumped into drawing freehand on the lamp directly, I thought of a few ideas. Since one of her favourite animal is the bunny from her favorite story book, Guess How Much I Love You, I decided to go on Pinterest to get some inspirations of illustrated rabbits.
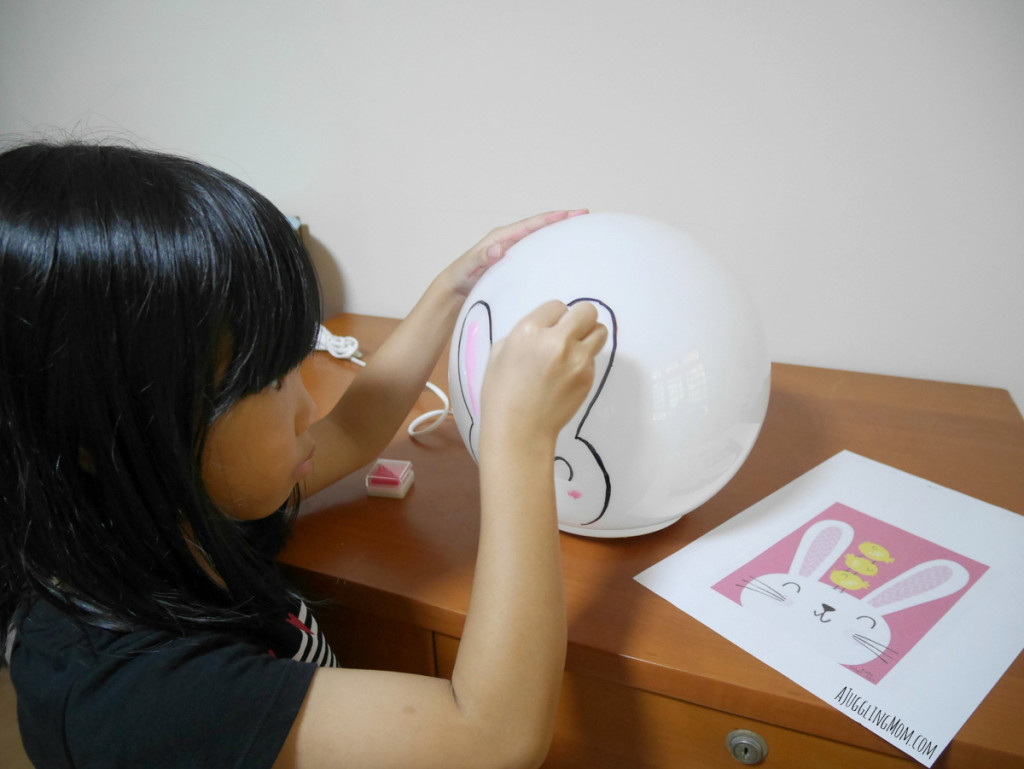
Once I chose my design, I printed the picture on my colour printer at about 3/4 of an A4. You’ll want to use Sharpie markers for this project, which can be easily purchased from bookshops like Popular, Art Friend or the local craft stores.
Before you get started, it’s a good idea to just have a wipe down of the lamp and make sure that you work on dry surface.
While Sharpie markers are supposed to be permanent markers, you’ll be relived to know that they are surprisingly very forgiving on shaking hands and I managed to wipe off my mistakes effortlessly. But that also means you’ll have to be careful not to get the ink smudged.
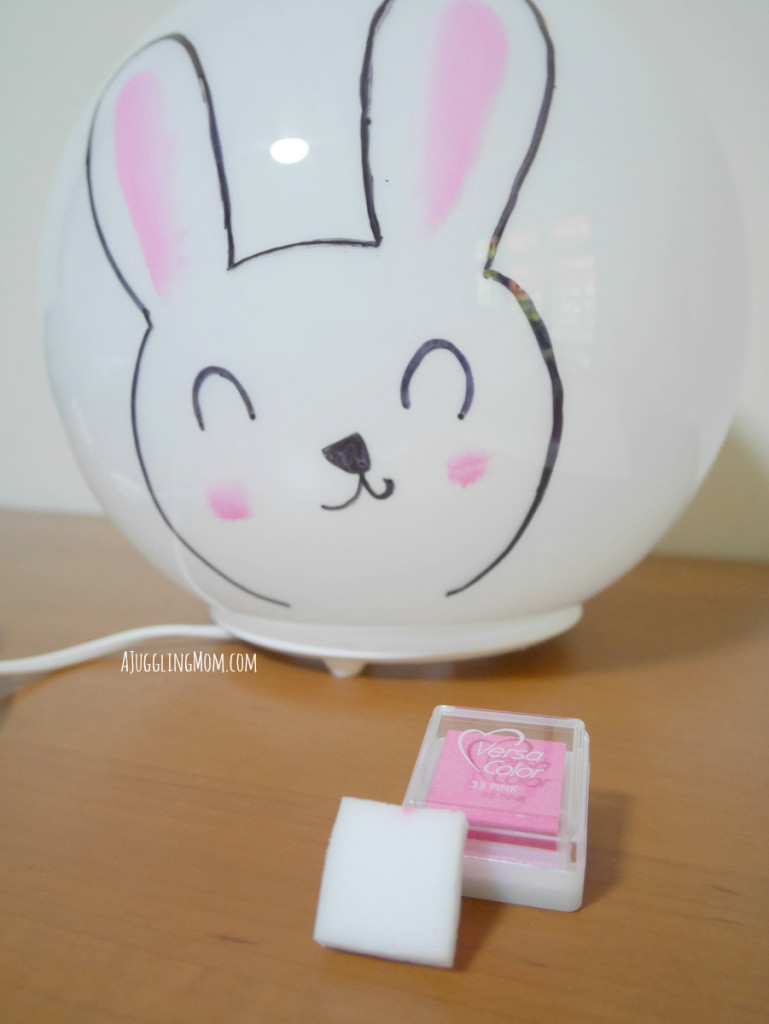
At first, I was contemplating using acrylic paint for the rabbit’s ears and cheeks but since I couldn’t find any in my stash of art supply, I substituted it with my versa ink stamp and it was perfect! Plus the shade of pink was simply too adorable.
The ink stamping was so simple that even Sophie chipped in to lend a helping hand.
Here’s a tip: As you want to only ink a small surface area, do cut your sponge to a smaller size to avoid smudging and use gentle dabbing motions for a soft, gentle effect.
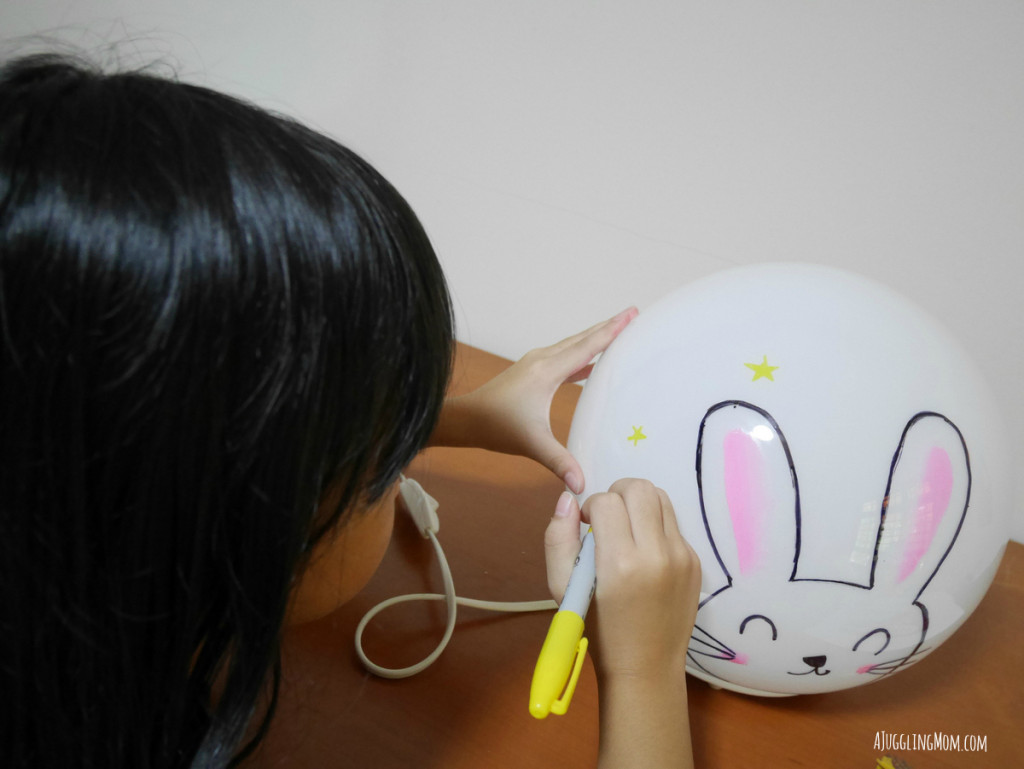
Since this was going to be Sophie’s night lamp, she suggested to add stars.
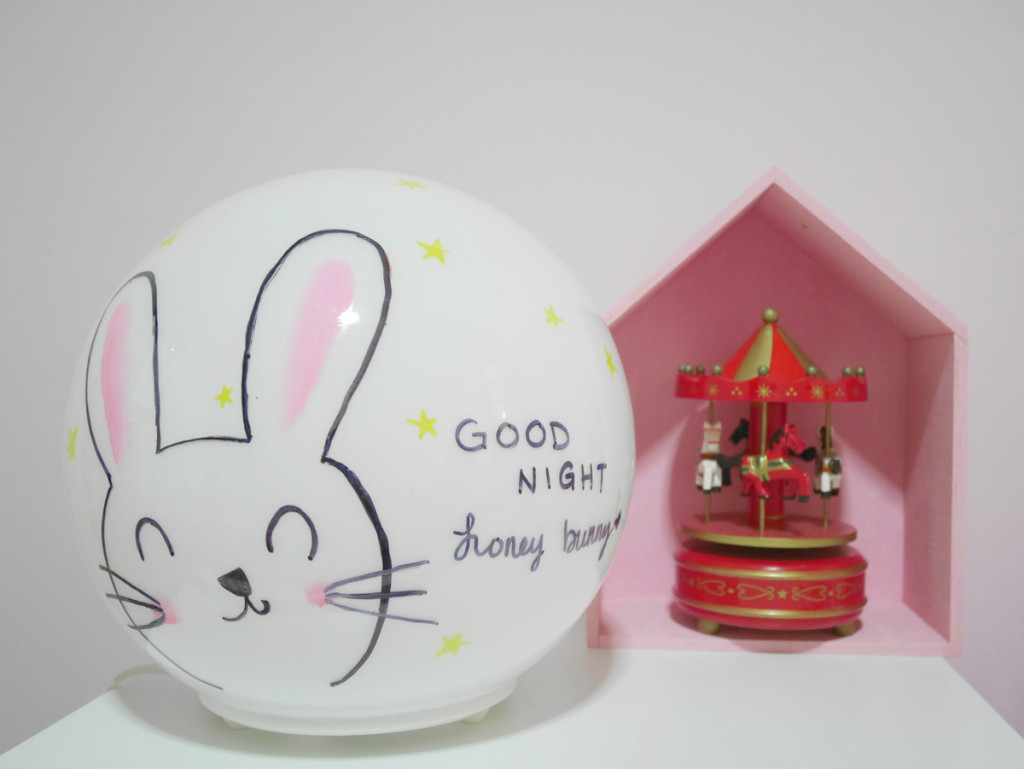
As a final finishing touch, I added the words, Good Night, honey bunny and her night lamp is complete.
Sophie was over the moon with the new look of her table lamp and I was secretly very satisfied with the end result myself! And if you’re thinking of giving it a go, rest assured that it takes no more than half an hour to complete and it could even be a cool June holiday bonding activity for you and your child.
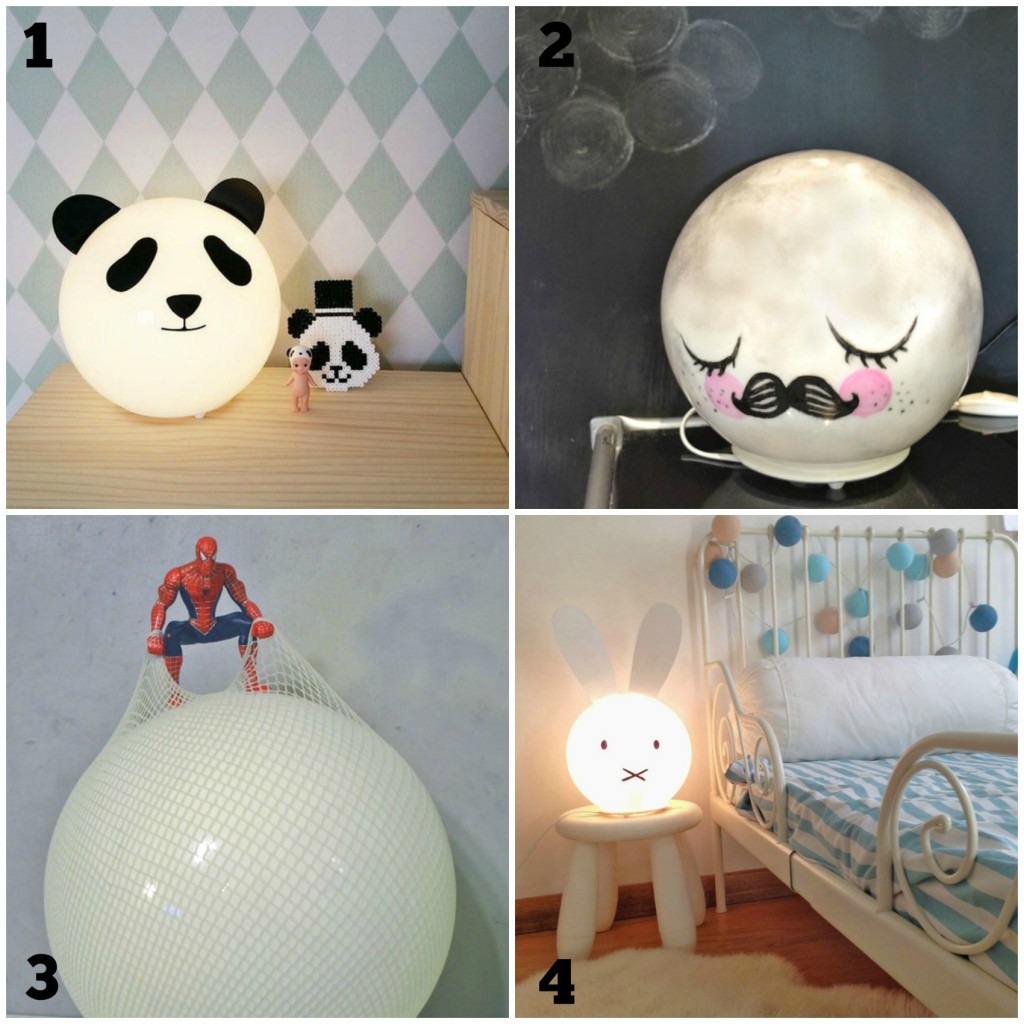
Here are more inspirations from around the web.on how you can DIY the FADO table lamp.
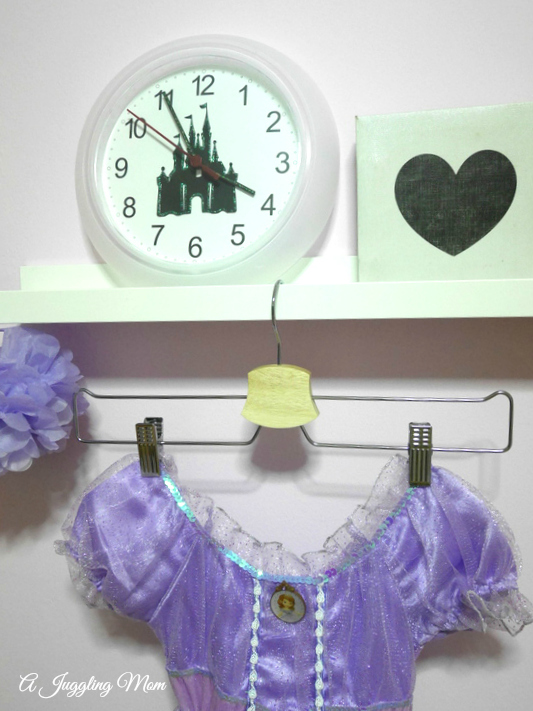
Here’s a project I did last year on how you can transform a $1.50 wall clock to a princess clock. Read on here.
Did I spark a creative light bulb in you with this post? If so, head over to IKEA website and explore the many other wonderful things you can create with their products.
* This is a sponsored post written in collaboration with IKEA, however all ideas and opinions expressed here are my own.
Tagged: children's room, craft, DIY, home deco, ikea, Sponsored post



I love how you turned the plain looking lamp into something that Sophie loves. A personal touch goes a long way, I bet Sophie feels so loved every time she looks at the lamp. Her star idea reminds me of my girl who loves stars too.
She adores it especially when it’s something that she helped to personalize too 🙂
That’s so cute, Susan! Too old for my boy, but definitely a nice gift for younger ones!
He can make the spiderman lamp that I shared. Haha.
I did not know IKEA lamps can be handicrafted, hand me a Miffy please 🙂
cheers, Andy
(SengkangBabies.com)
That’s one cute design that I’m going to attempt next! Saw it from Pinterest and I love it so much 🙂
This is so cute! A great idea it is!
Thanks 🙂
It looks beautiful and kids decorating stuff for their room is so precious.
Love ur idea. The lamp is so pretty and special!
I love the ‘rabbit in the moon’ idea! Simple and idiot-proof.
Heh, it sure is a hit!
Wow the Mr. Moon FADO Lamp Hack is SUPER COOL. I doubt I can draw like that but it makes me want to try my hand at it for my kids’ room too!!
It is, isn’t it? Go try and share your experience making it too okay 🙂
Oh such a cute and creative idea!! Look forward to more of your DIY projects.. you really have the flair for it! 🙂
Ai @ Sakura Haruka
That’s such a cute and easy fix! Sophie must be proud to create her own lamp!
What an interesting and simple DIY for the young kids!
[…] is my second post written for IKEA and here’s the first one on an IKEA hack if you missed […]
[…] is my third post written for IKEA and here’s the first and second post if you missed […]
great DIY ideas for children. clap. clap
[…] can embark on a more sustainable lifestyle or even made you consider a room makeover. Or perhaps a DIY craft project to do with your […]